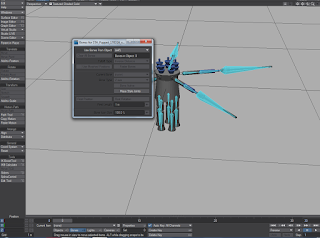
After making the models and rigging the model using the skellegons option in modeller I exported it to layout to start the animation. First I converted the skellegons into bones which made the bones appear in layout mode.
This gave me the option to use the bones from a specific layer form before since I was suppose to make the bones in a separate layer to the object when rigging the objects in modeller. I went to bone properties options and selected to use bones form layer to make the bones sit where the model is. This allowed me to move the object with bones since they are active.
I then had to activate the weight maps previously set using modeller to to stop the bones from controlling more than they should. When weight mapping the objects I selected the each and every bone in the legs areas and selected the weight map previously names using the colours of the legs.
Before Animating I set the camera to face an area where it would take a good shot of the model's animation. This will help me later when animating the camera.
Jump
After every action below I've left a space of about 30 frames for action to perform.
I then started the actual animations, First with the jump animation I started with rotating the bones outwards to make the legs and bending out wards from the second joint of leg and then moved the object as well as the bones downwards to show the motion that its about to jump.
I then reset the legs as it was before and moved the object and the bones upwards within about 10 frames to make it very fast. I then moved it back down and did the first leg motion I did to show the puppet landing. I did some camera movement on the puppet after to make it not look boring.
With the walking animation I made sets of legs move at ones to make it less time consuming. I first started with the leg movement for the course of 120 frames,moving one set of legs at a time though out all the frames.
I then did the went back to 0 frames at did the actual movement of the model. I then also did the some camera movement to show the motion and movement of the object. I had to move the model itself and the bones separately because I have forgotten to set a body controller for this model.
Spin
I started with stretching out all the arms in the direction they are facing and the bent the arms to one direction from the second joint of the arm.
I tried to do this at one angle but I did this by eye because I didn't want it too perfect. after setting some frames in between I straightened out the arms and then span the body to the opposite direction to where I rotated the arms to. to show the model spinning I also move the camera throughout the 60 frames.
Run
For the run animation I made sets of legs move at ones to make it less time consuming. I first started with the leg movement for the course of 120 frames, moving one set of legs at a time though out all the frames.
I then did the went back to 0 frames at did the actual movement of the model. I then also did the some camera movement to show the motion and movement of the object. I also made the legs move faster than the walk animation.
Lunge
For the lunge animation I started with setting up the arms of the model to a lunge position by using the rotate and move tools to make it seems like the arms are pointing weapons at the direction the model will be lunging at.
I then moved the legs to a lunge position within the same number of frames. It Then moved the actual model within the short number of frames to make it really quick and instant to show the speed of the lunge.
After animating the models I rendered them as a series of images and exported them to premier. I then added them to the same work space (video) to make one big video with all the animations on it. Before each video I added a title screen to tell the viewer what animation they are looking at. I then rendered the whole video and uploaded it to youtube and added music for it using the you-tube editor.


